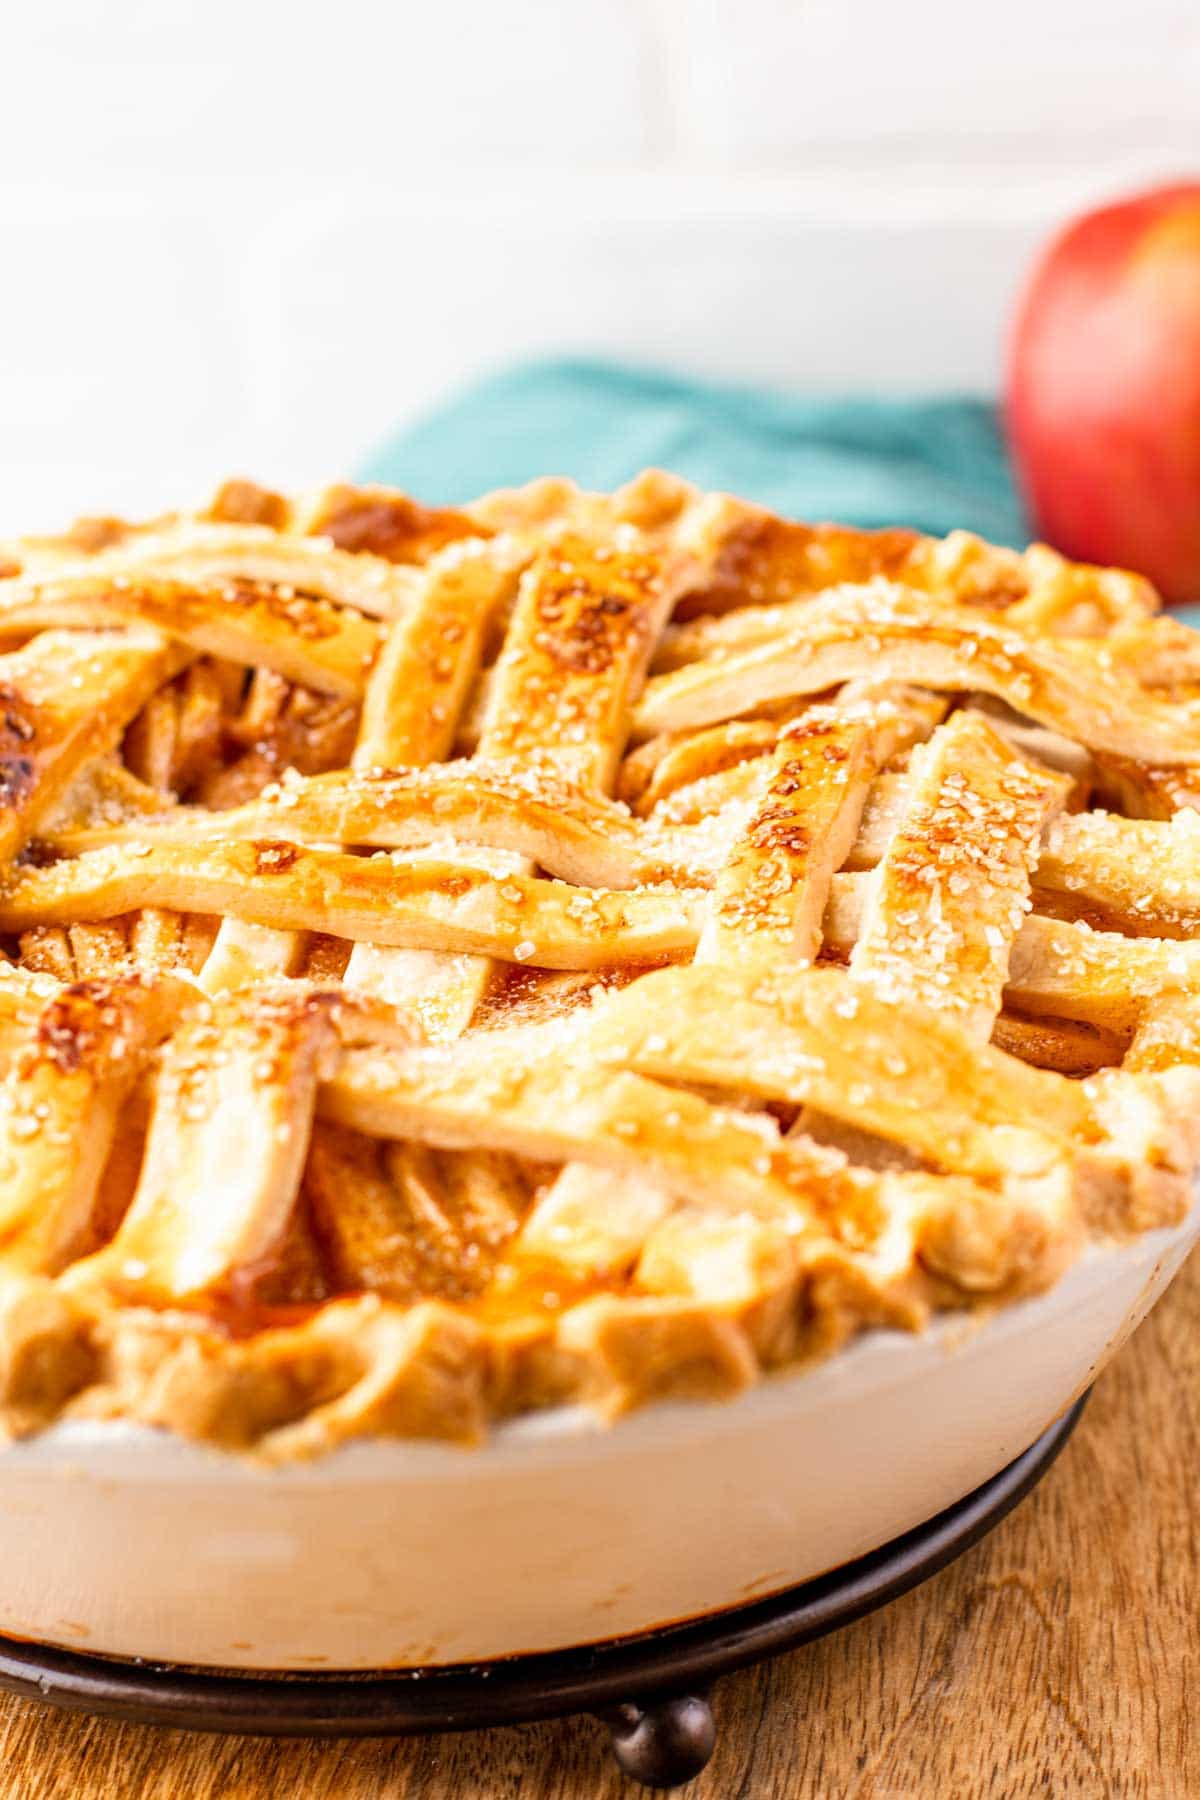
Who loves pie? I know I do. And with Thanksgiving just around the corner, I thought I’d share a delicious flaky pie crust that you can use for all of your favorite pies! I’ve used this flaky butter crust in our homemade apple pie, in a chocolate pie, and even in a pumpkin pie! Just like good bread makes a good sandwich, a good pie crust makes or breaks a pie. There are a few secrets to making sure you get the perfect flaky pie crust and not a chewy one so make sure to read the entire post for all my tips and tricks!
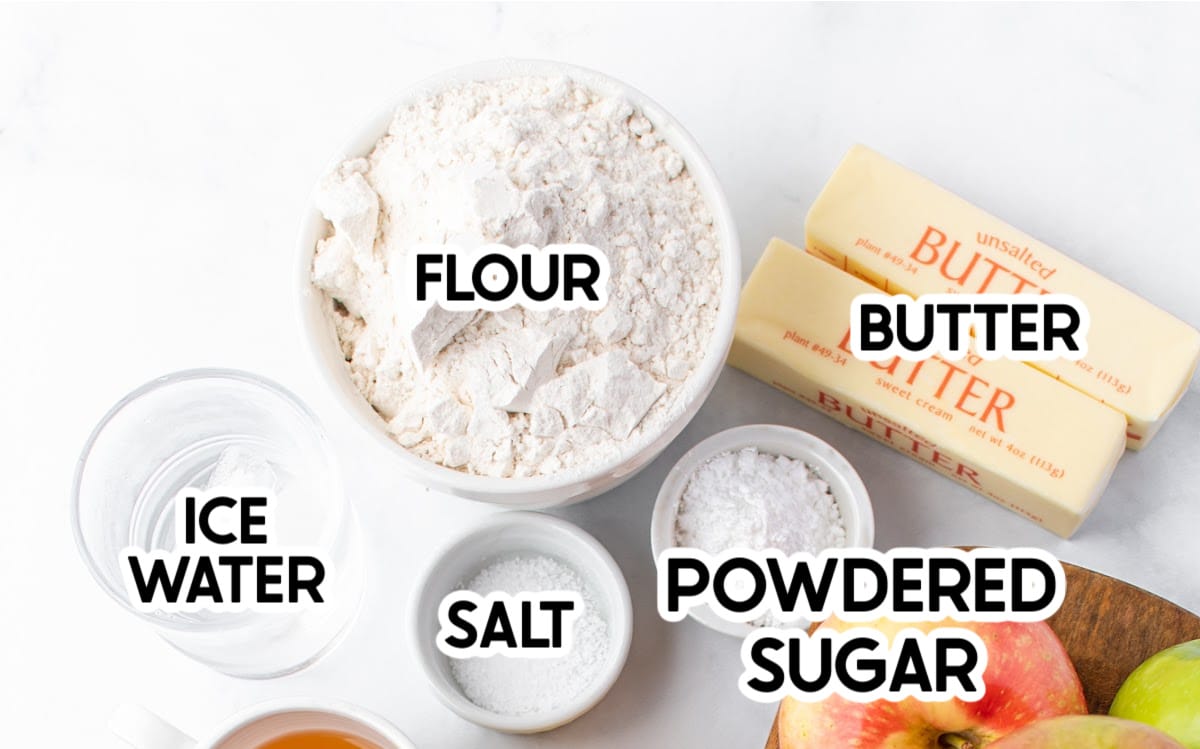
Ingredients
Ingredient Notes
As you can tell from the picture above, this flaky pie crust only uses a few ingredients – five to be exact. Since there are only a few ingredients, each of those ingredients is extremely important. And in this recipe, there are some super specific things you need to know about said ingredients.
Water – this needs to be ICE WATER, not cold water, not tap cold water. Think Vanilla Ice cold. Butter – you don’t want to freeze the butter but it should be VERY COLD, like as cold as possible without being frozen. You also want to cut it into very little cubes. I recommend cutting it then putting it back into the fridge until you’re ready to add it to the dough.
How to Make a Flaky Pie Crust
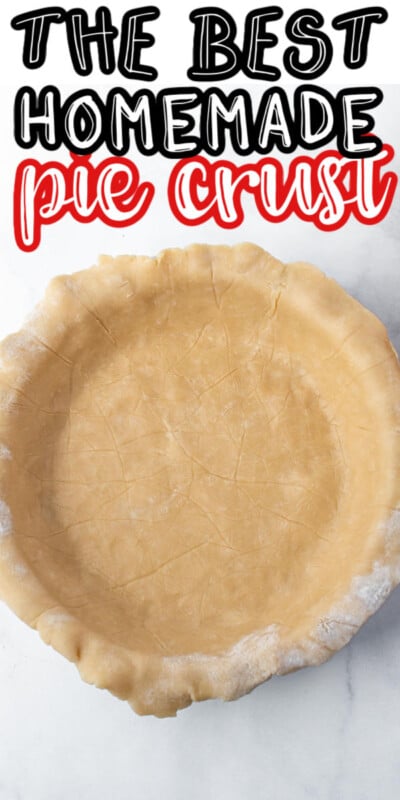
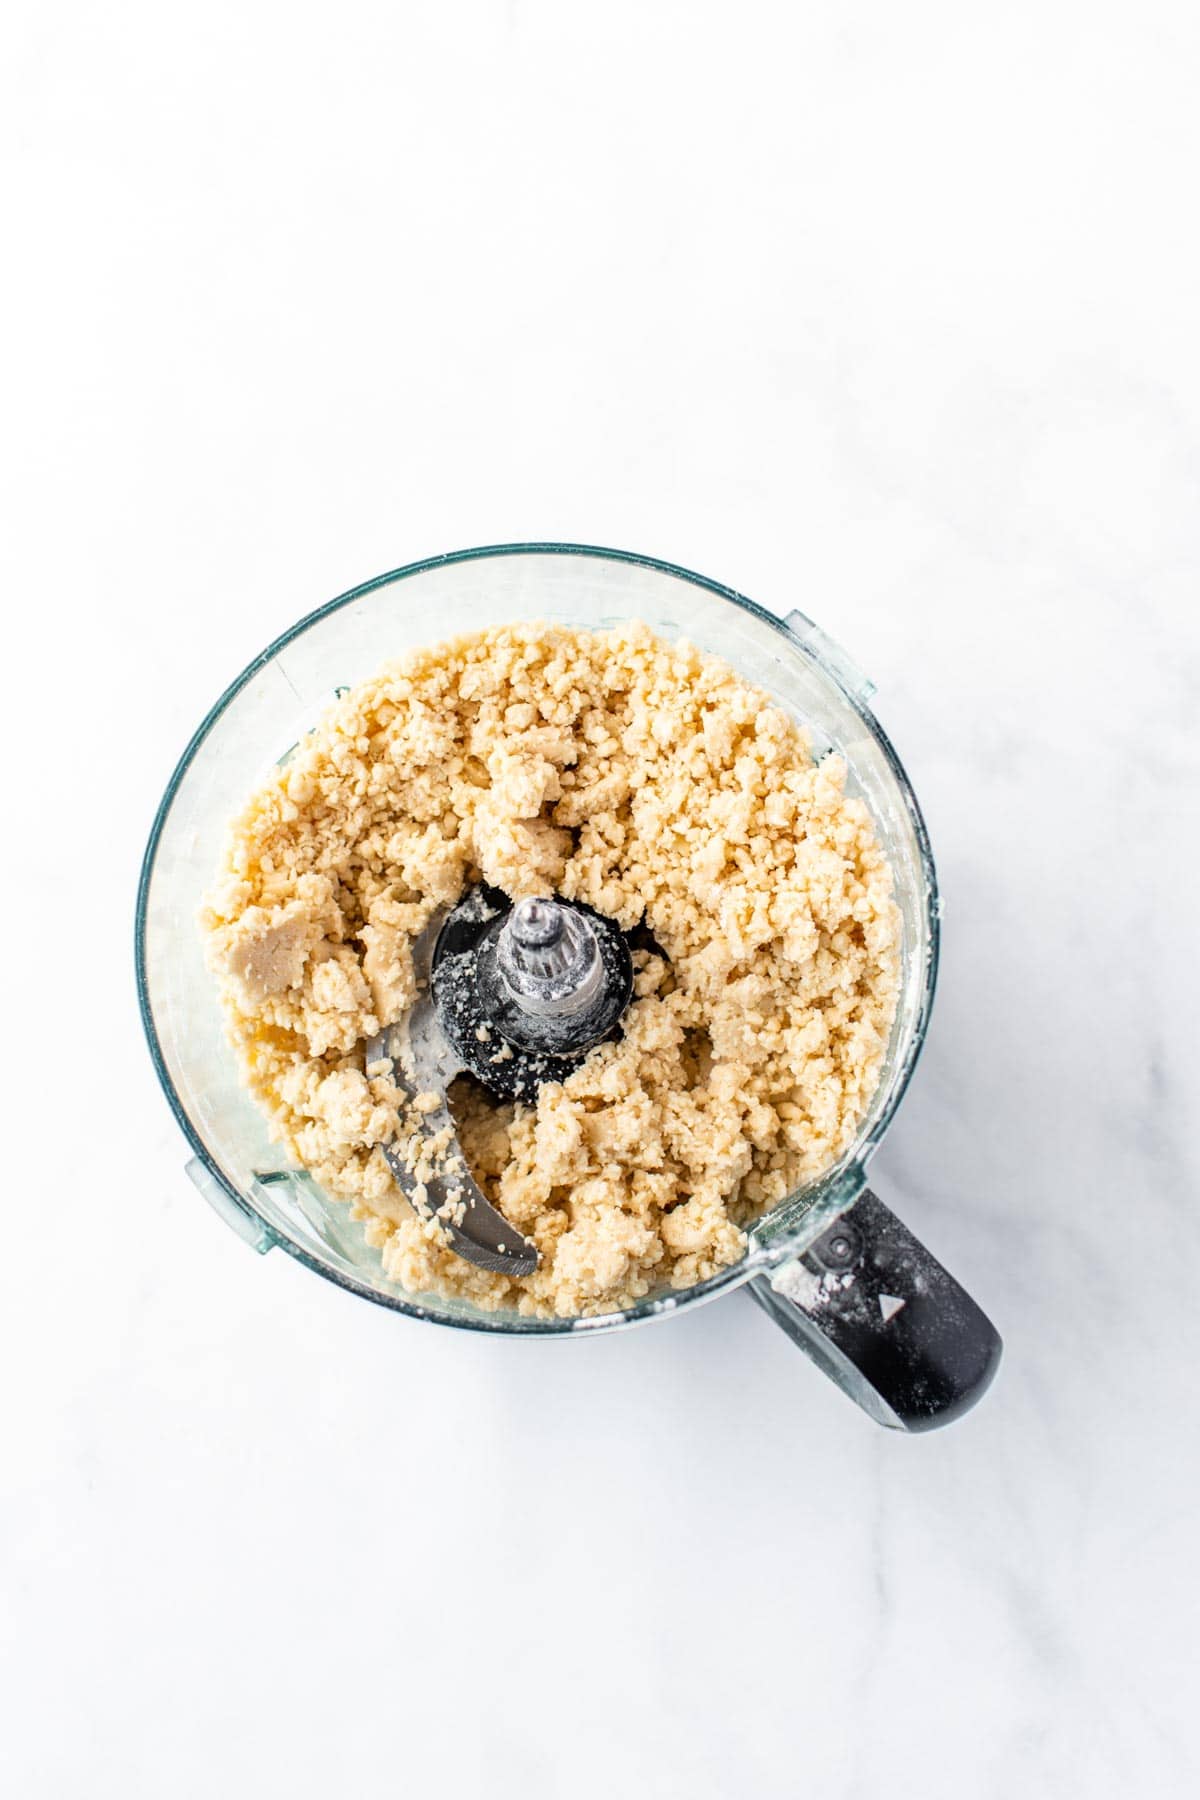
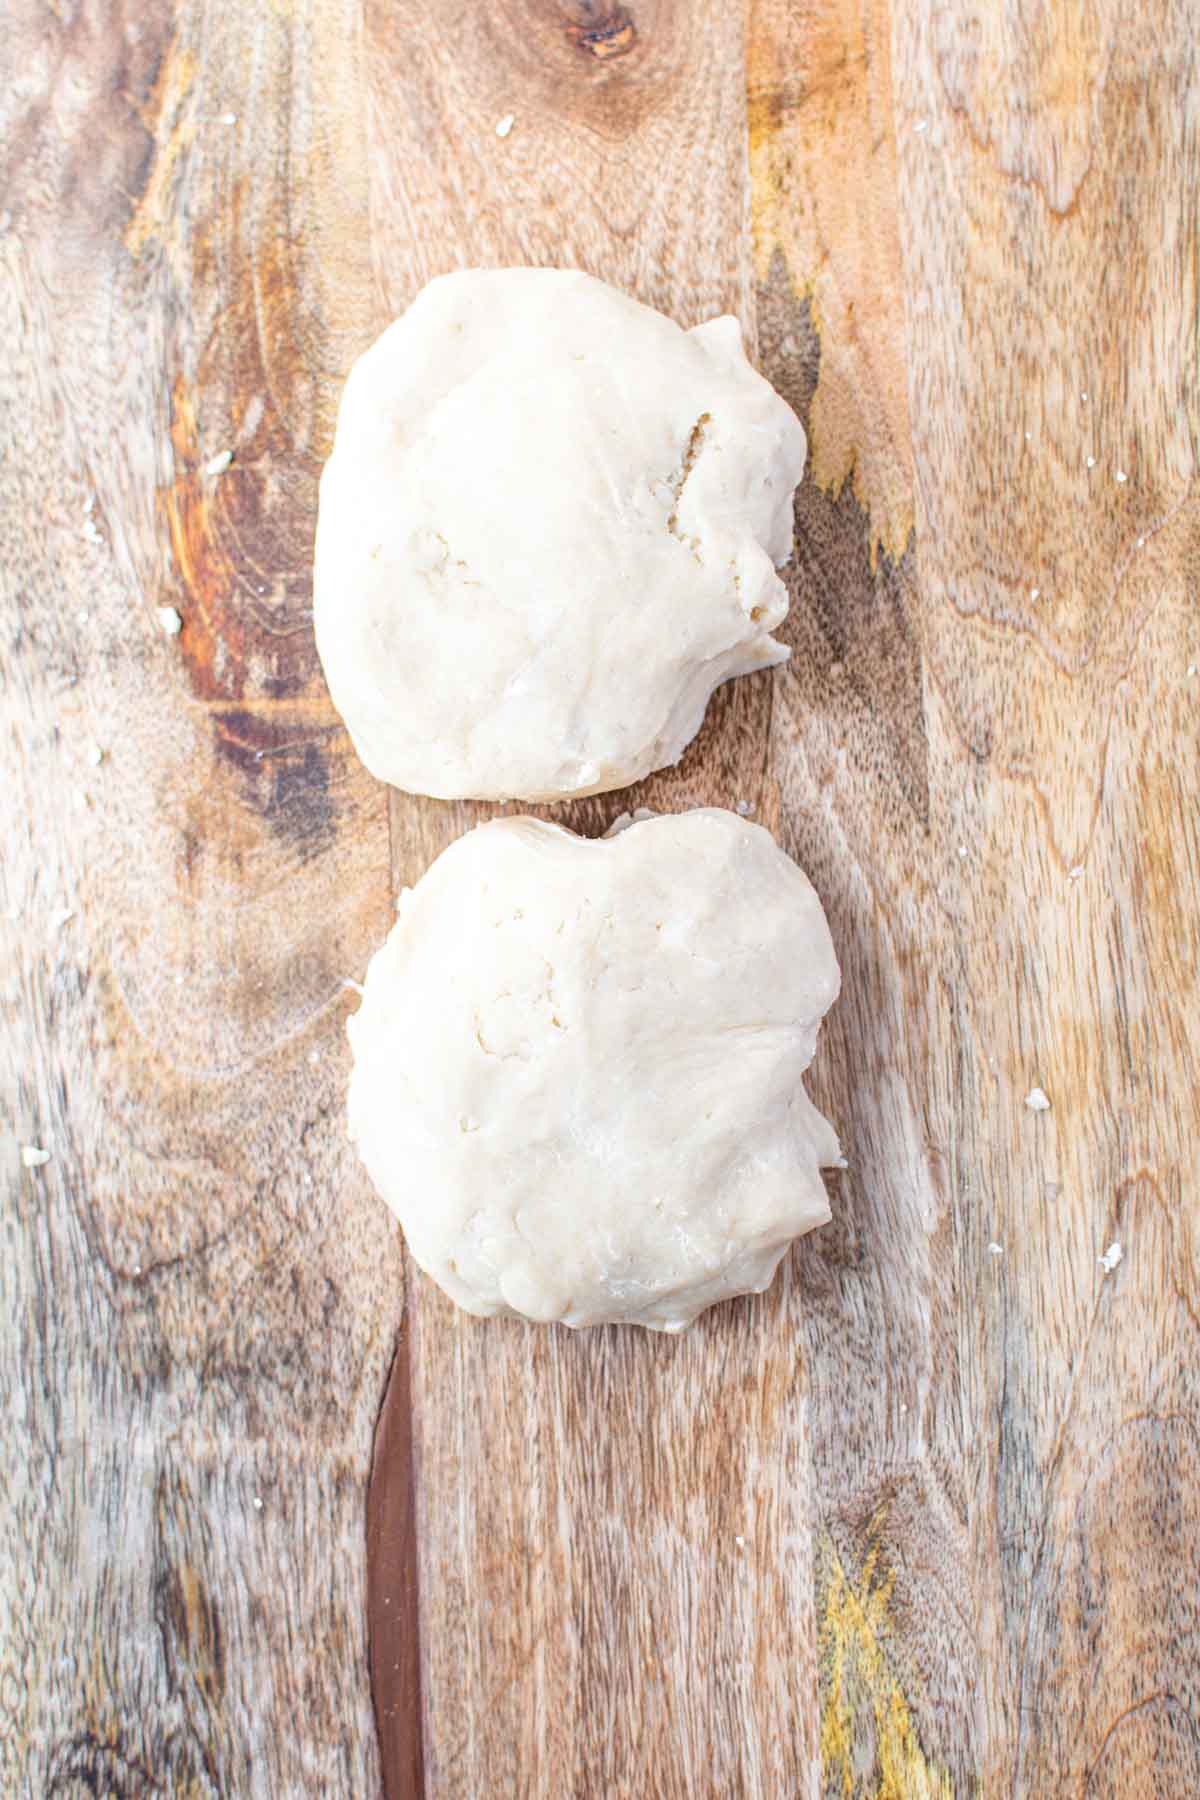
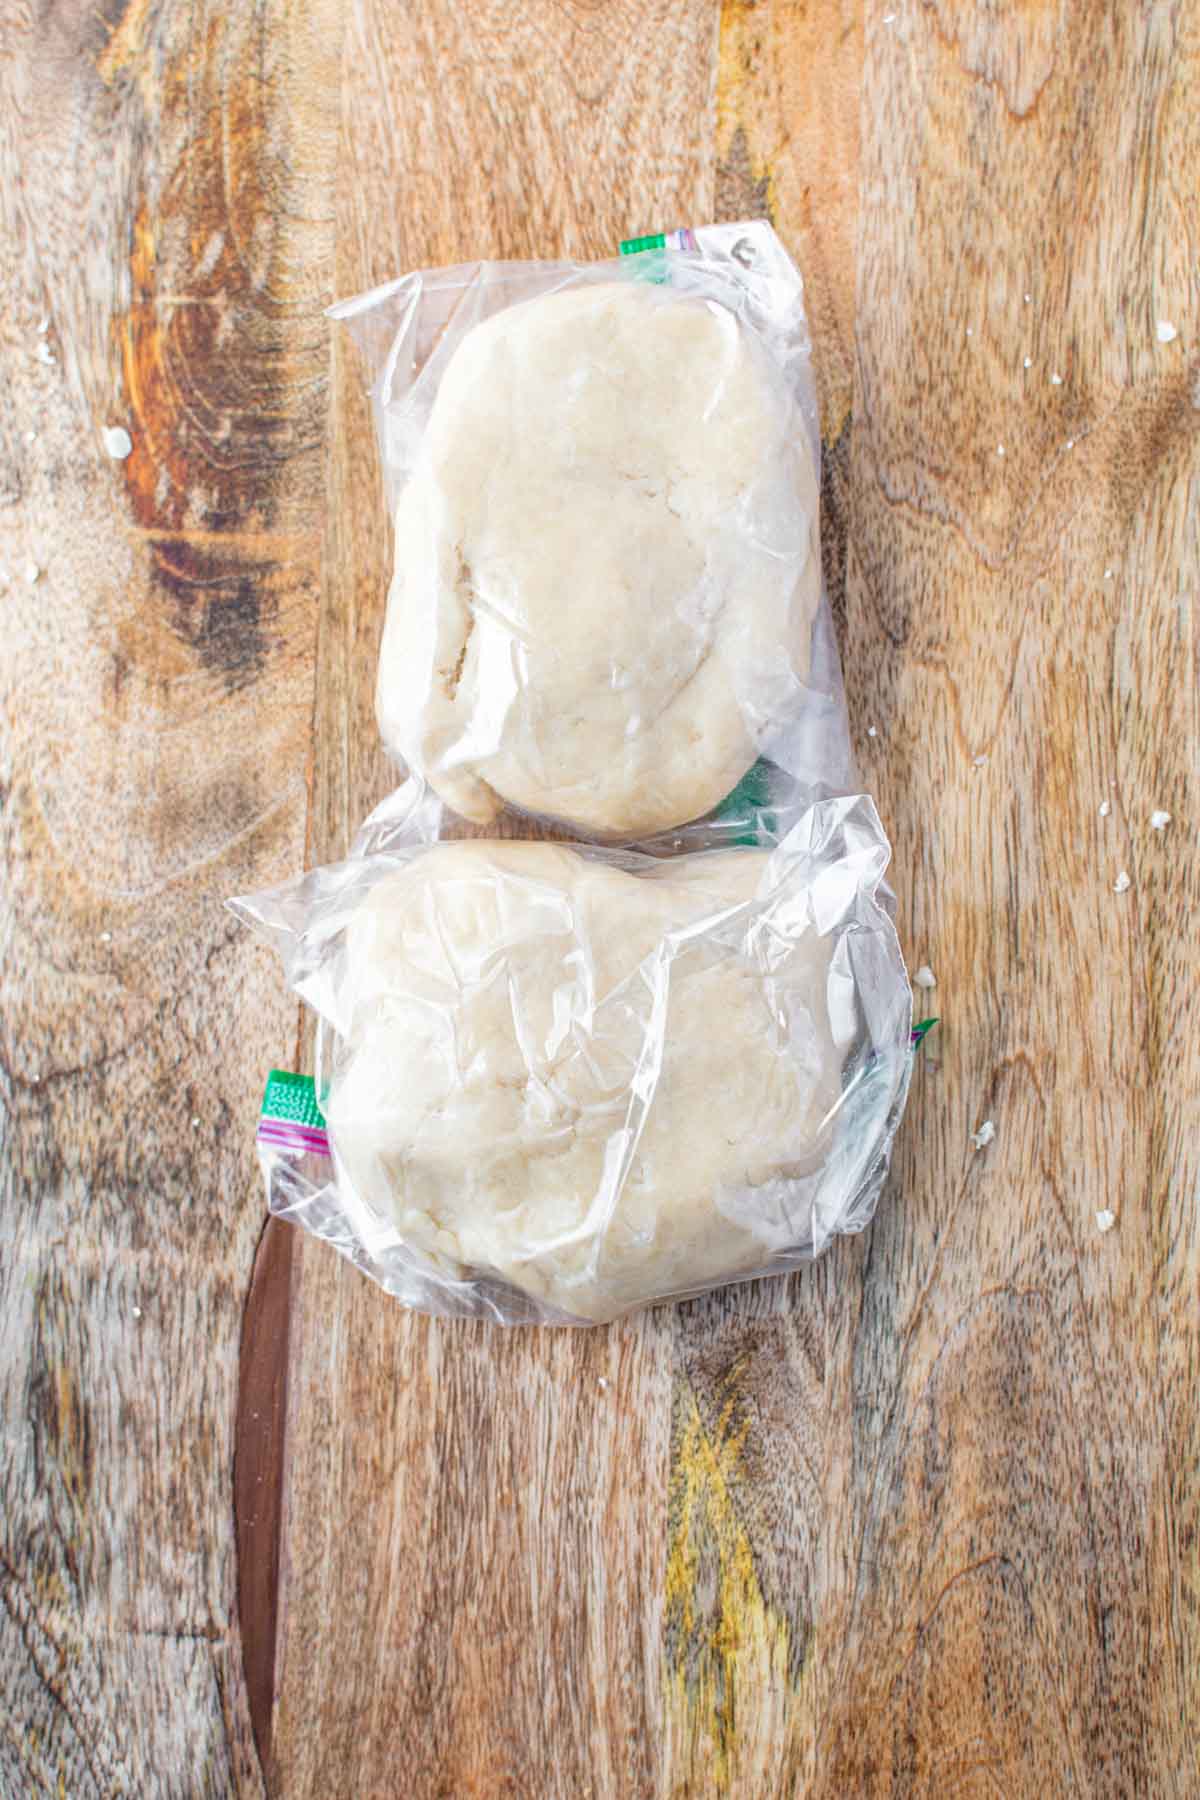
Now let’s get down to business and talk about how to make a flaky pie crust, not a chewy or crumbly one. This process isn’t hard, but there are some things you need to know to keep it flaky. The first thing you need to do is add the flour, powdered sugar, and salt into a food processor. Pulse a couple of times just to get it mixed. Next add in your small pieces of butter. Pulse it in the food processor until you have a mixture that looks like small peas. You don’t want to run the processor with the butter in it, just pulse. This will keep the dough from getting too creamed together – you want those little pea size crumbles. Finally you’re going to slowly add in three tablespoons of the ice water while you pulse. Once all the water is added in, pinch a piece of the dough together. If it stays together, your dough is good to go. If it falls apart, add one small spoon of water, pulse, and try the pinch test again. Keep adding a small amount of water, pulsing, and pinching until you get a dough that stays together during the pinch test. You don’t want to add too much water so make sure to add slowly, add small amounts, and pinch after every added spoon full. Once your dough stays together, place a lightly floured piece of wax paper on the counter. Put your dough on the flour, gather it together to make a ball. Split the ball into two pieces and press down slightly on each to make two small thick circles. Wrap each circle in plastic wrap or a sealed plastic bag with all of the air removed, or as much as possible. Chill the dough in the fridge for at least an hour if not longer. At this point your dough is ready to be used in your favorite pie recipe. The recipe makes two circles of dough so you can either put a bottom and top crust on your favorite pie or make two pies with no crust topping. My recommendation, and how we did it in this homemade apple pie, for rolling out the dough is below. This will give you the solid base for any of your favorite pie recipes – just replace store-bought pie crust with this one!
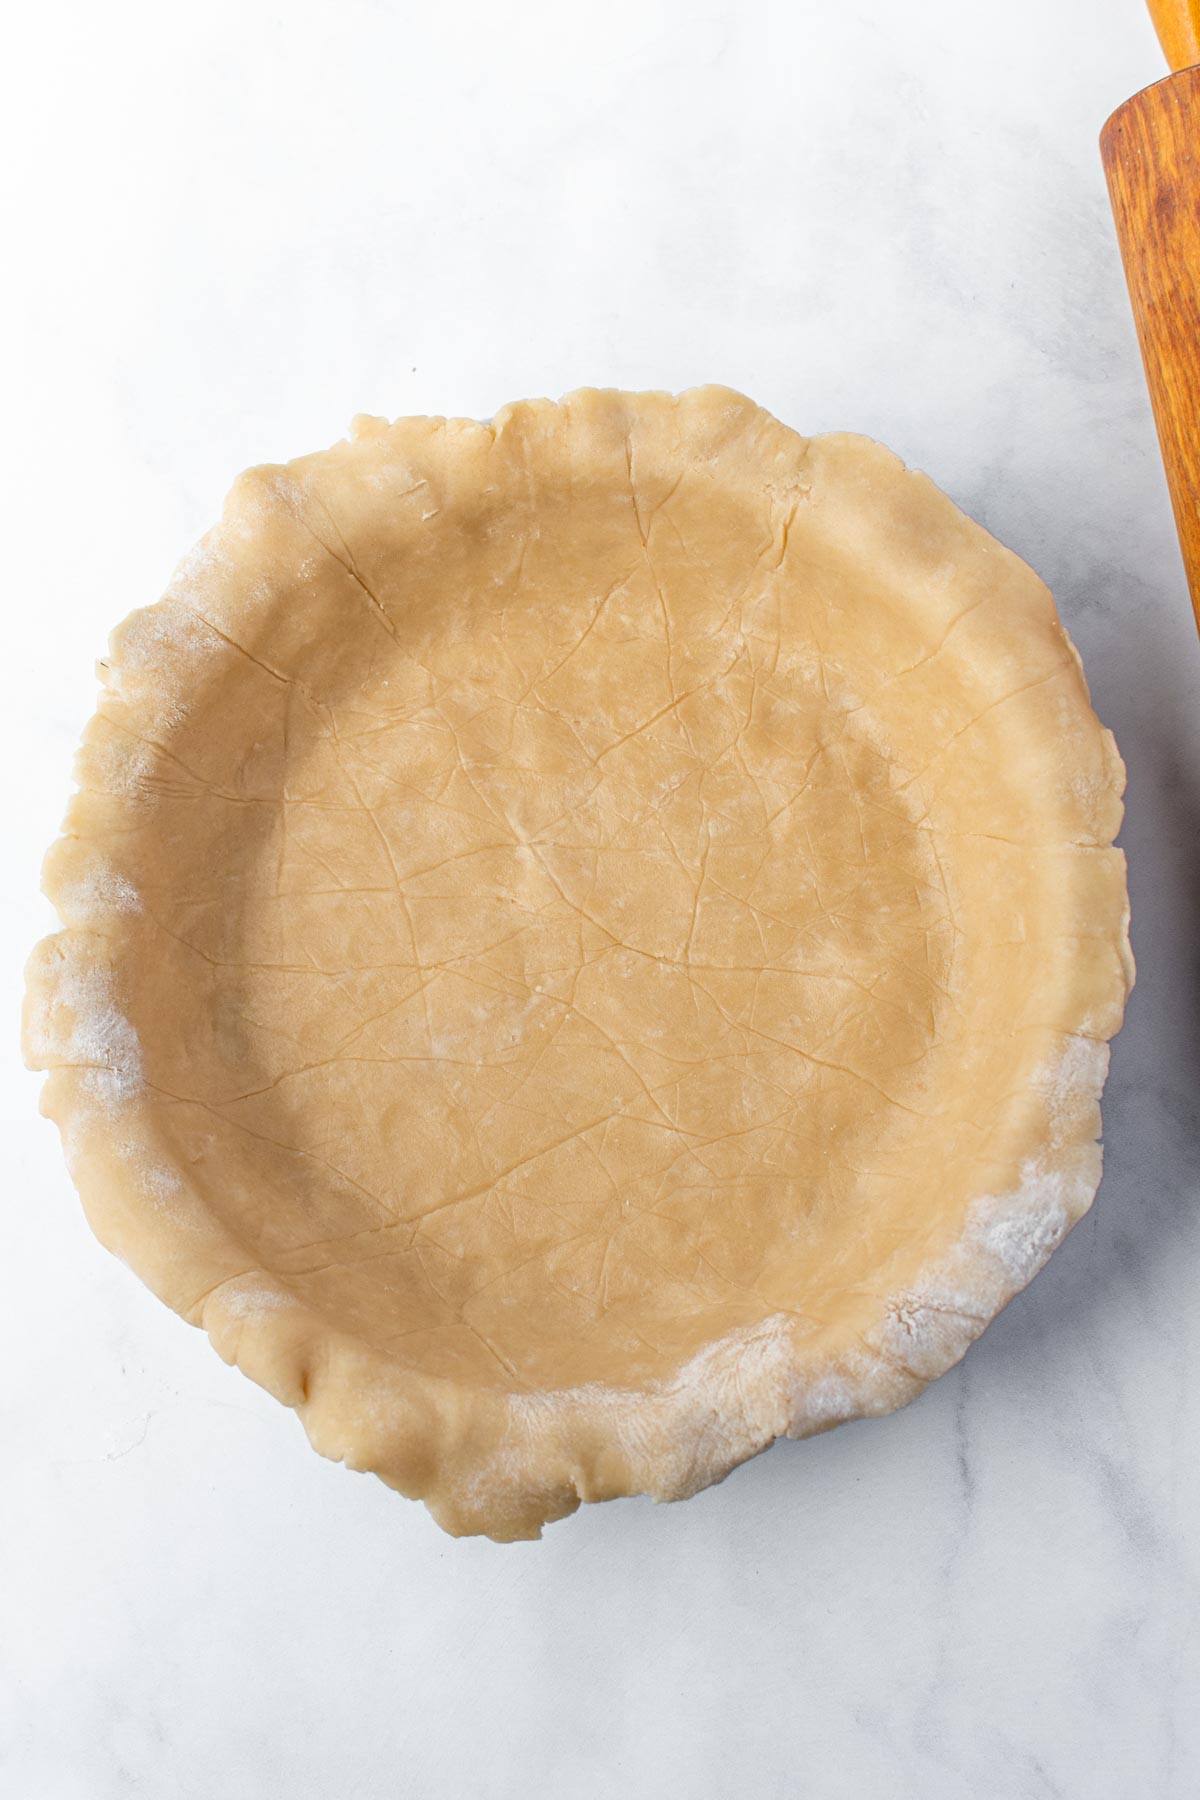
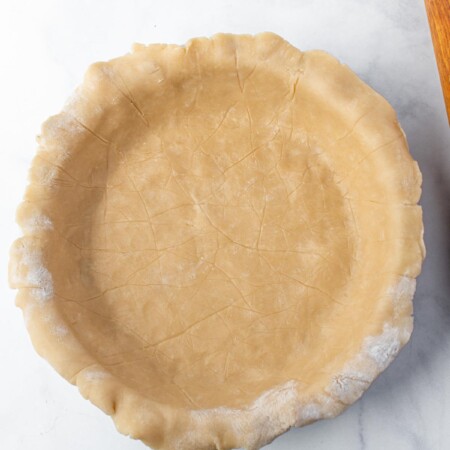
How To Roll Out of the Dough
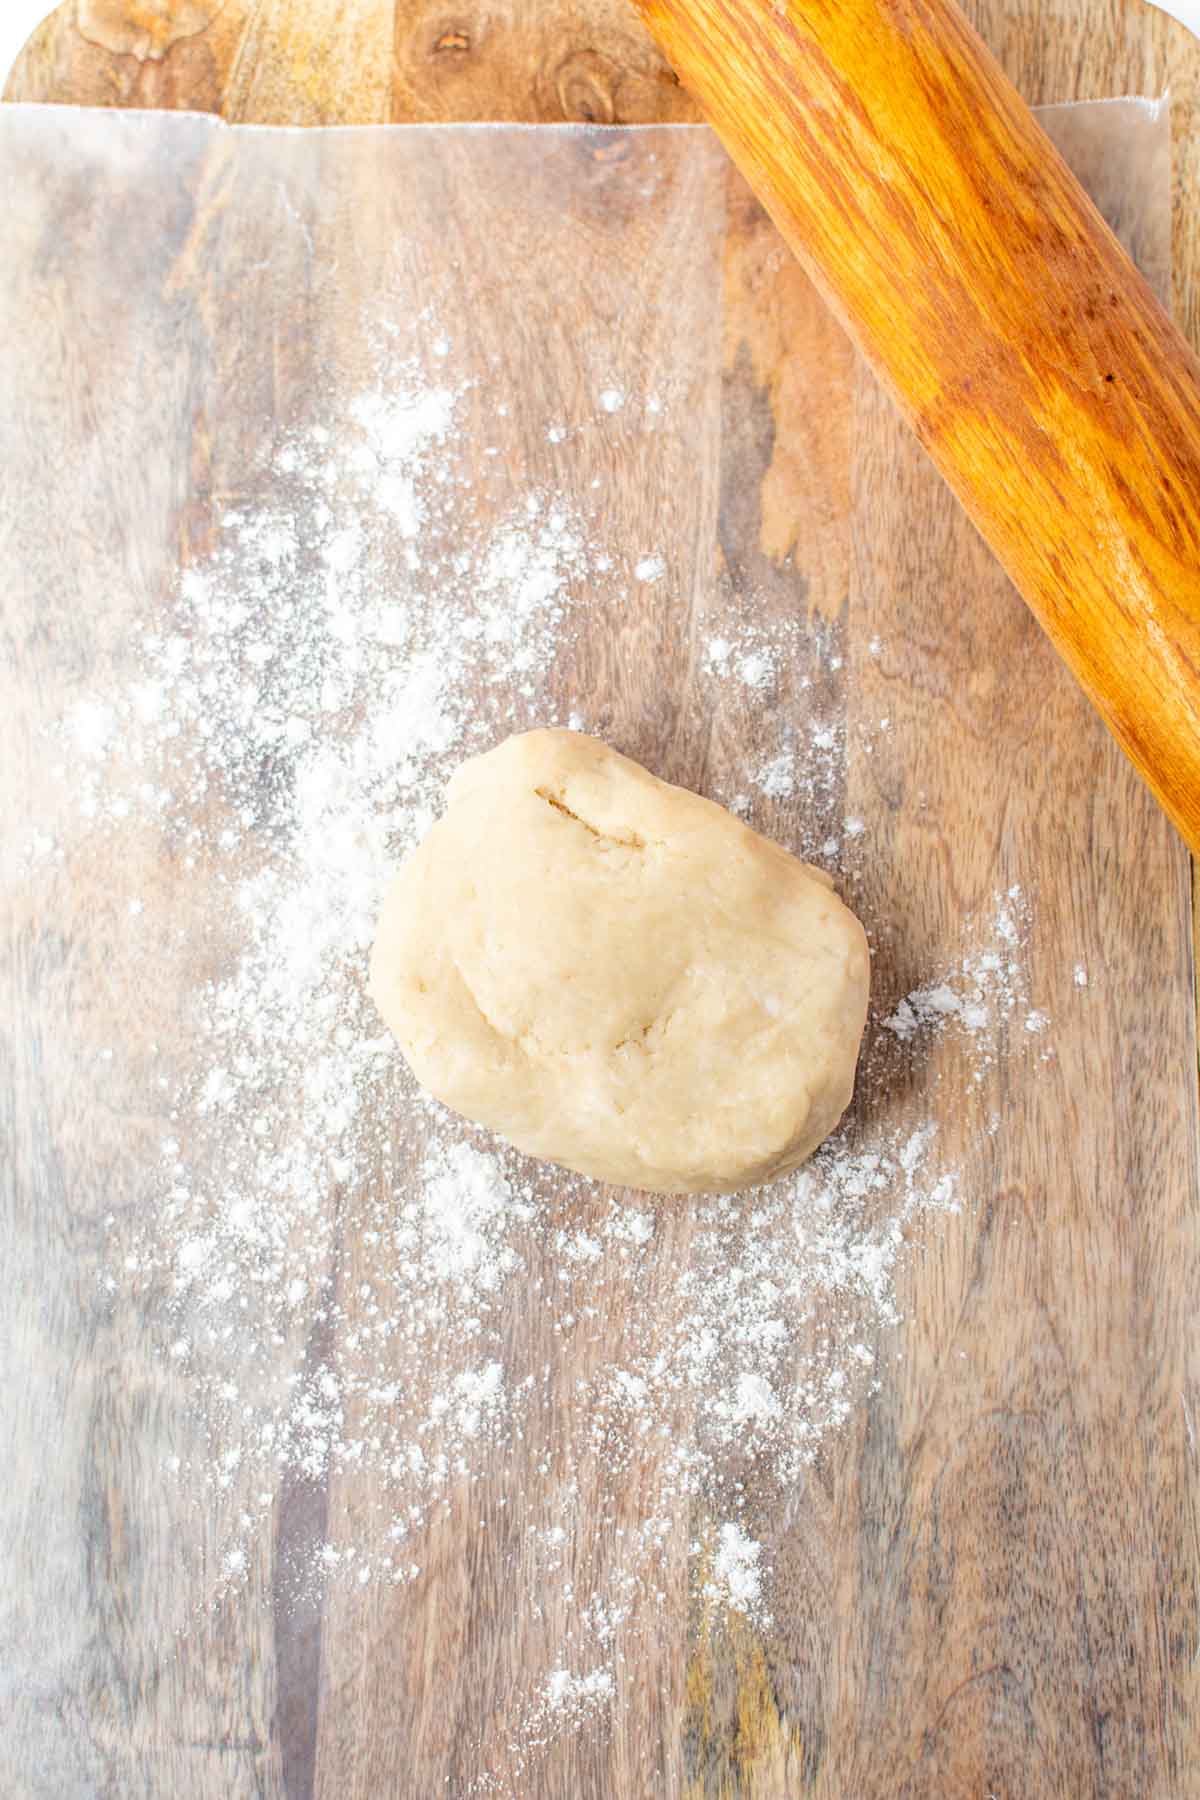
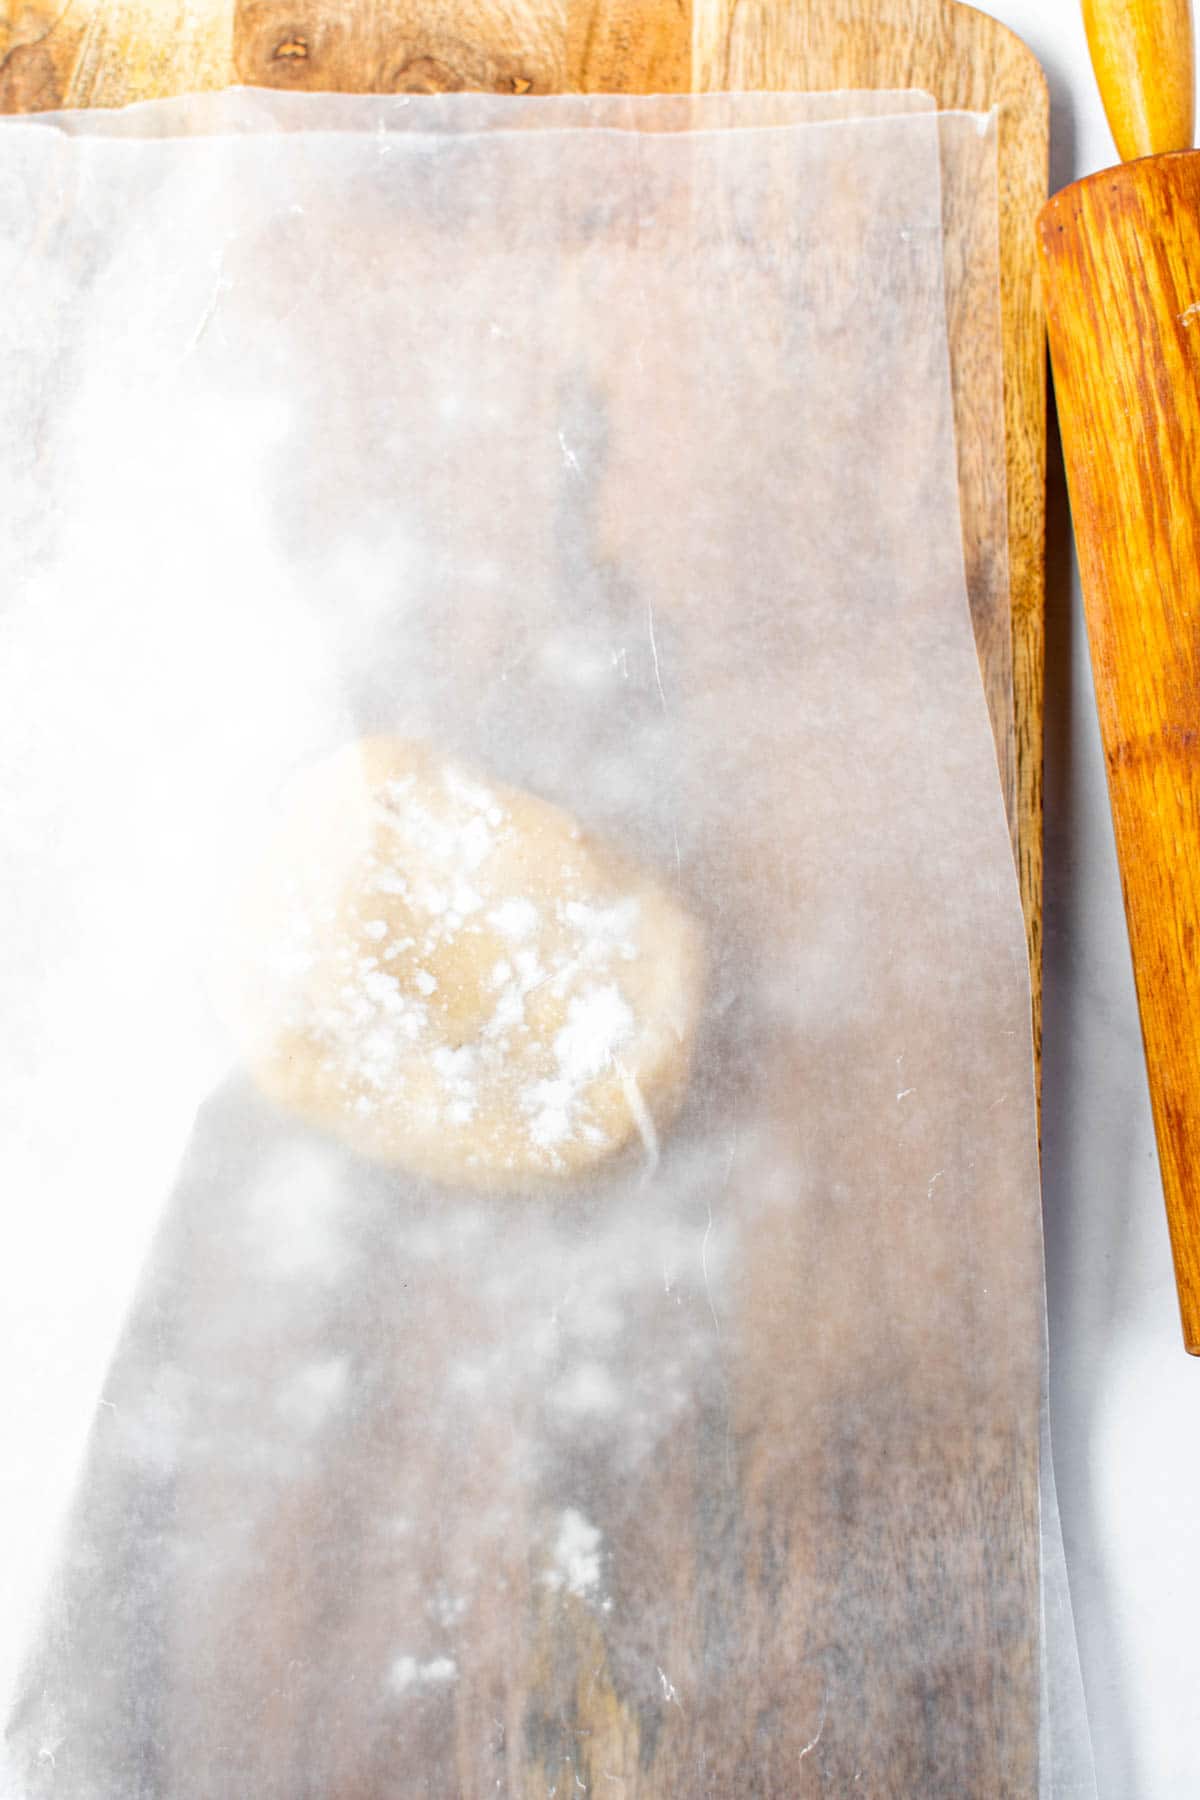
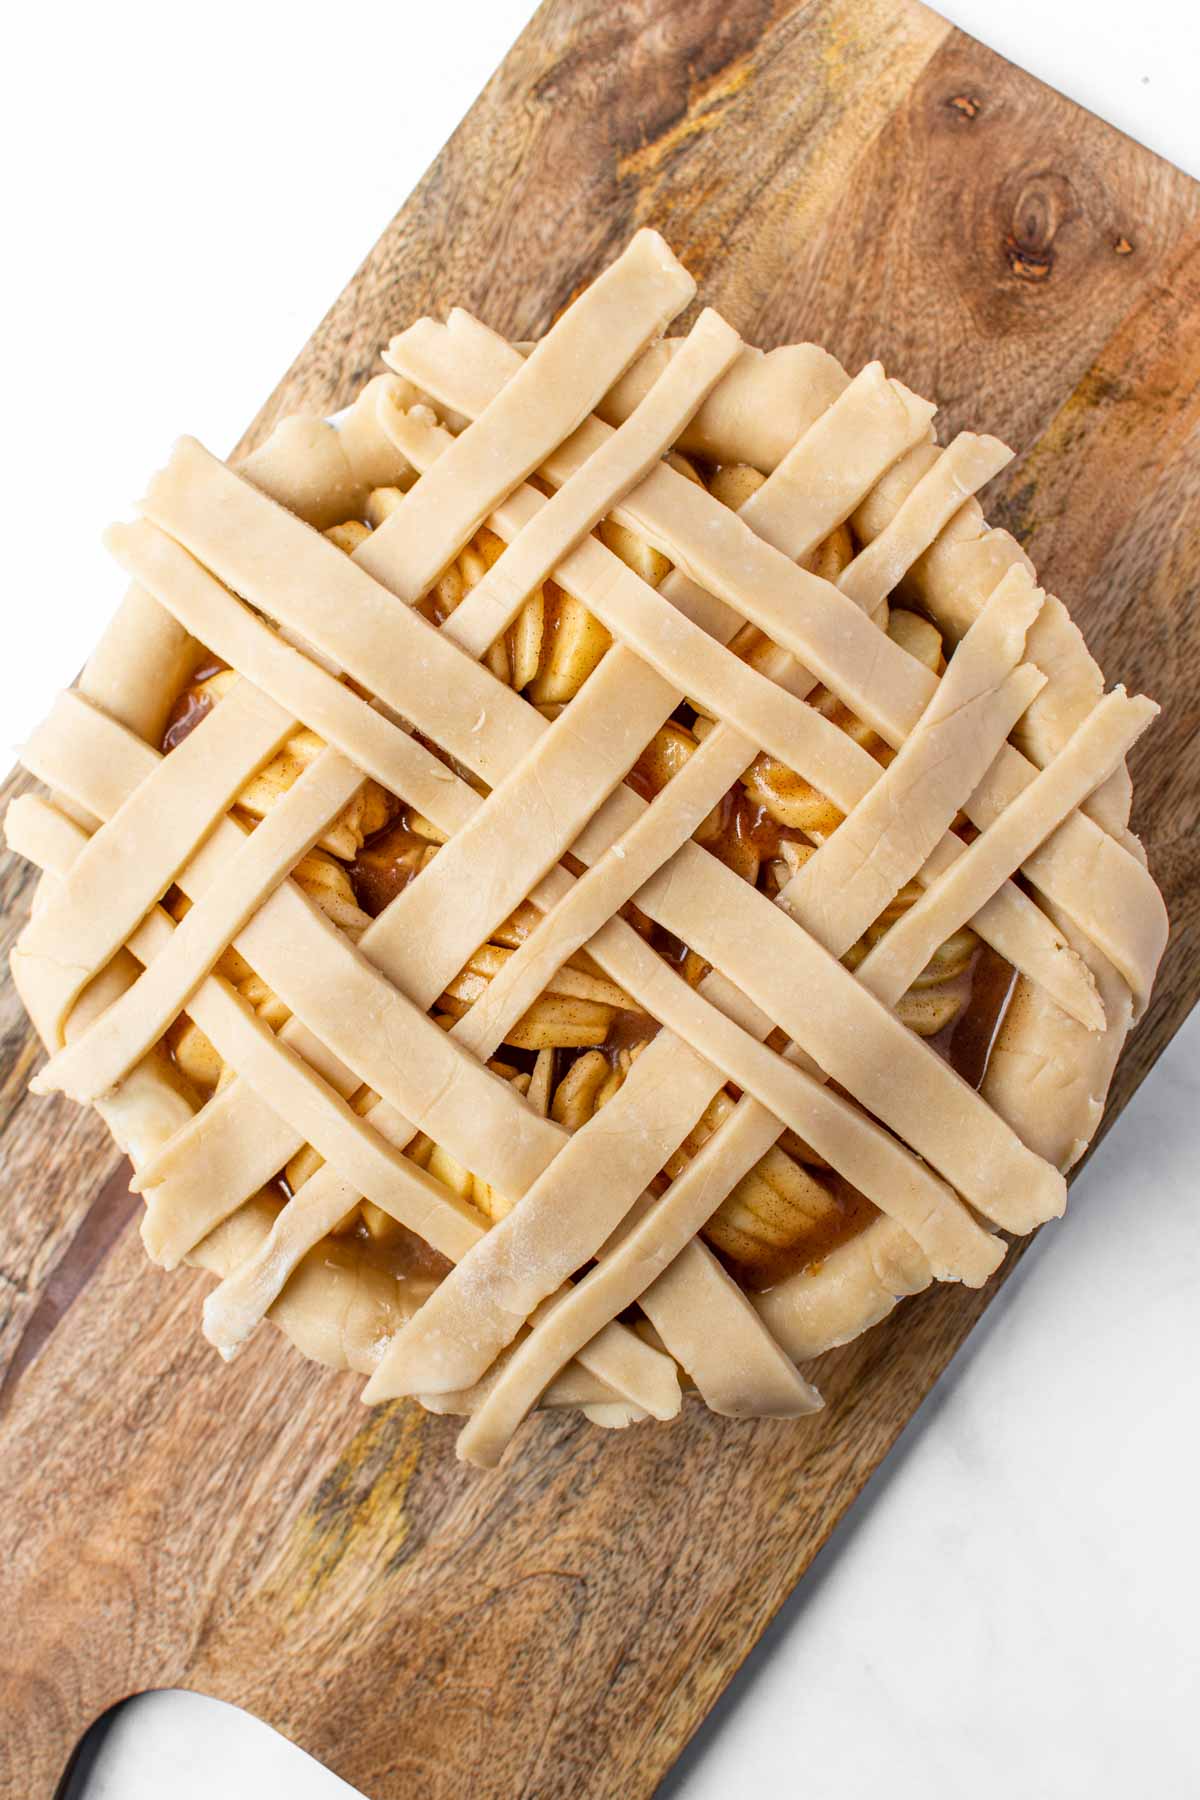
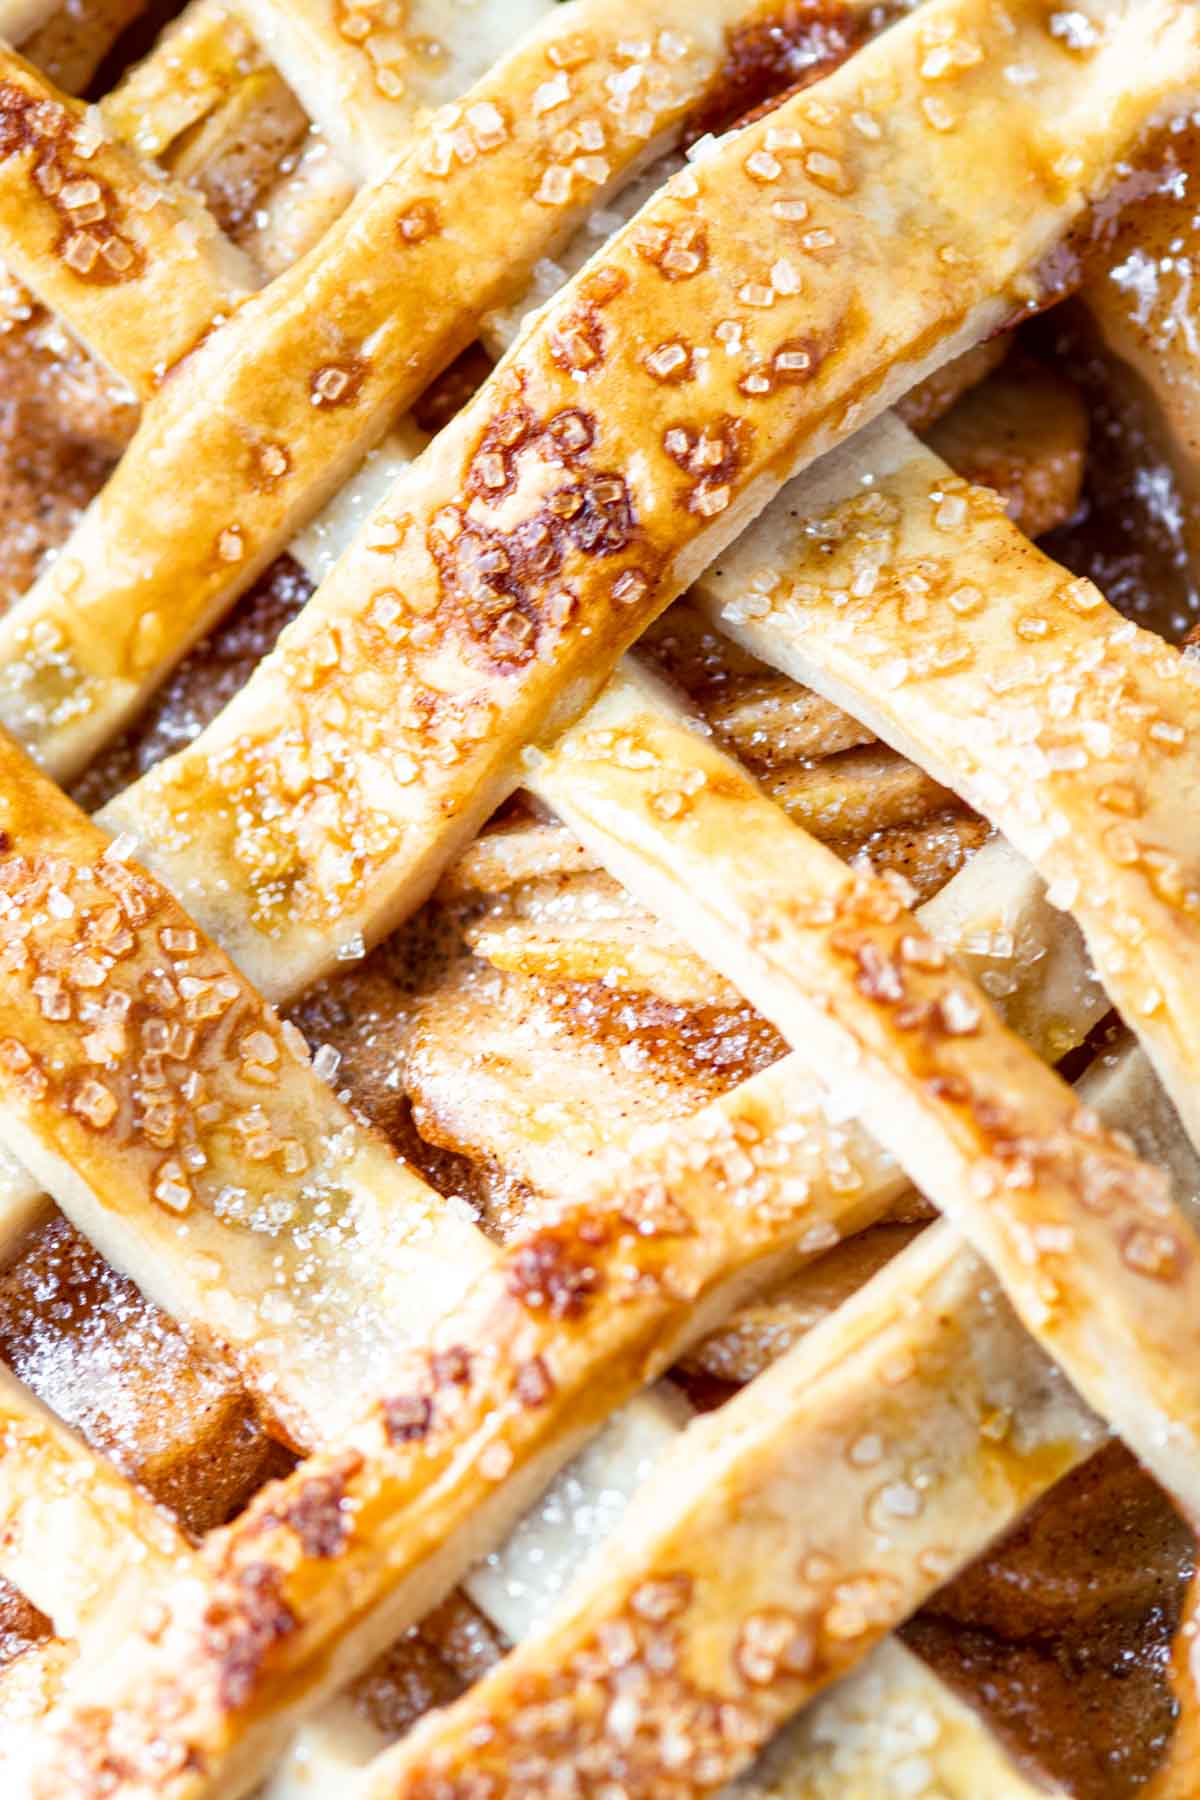
Spray a pie pan with non-stick spray so your pie crust doesn’t stick after it’s baked. Lightly flour a piece of wax paper and put one of your small circles on top of the flour. Then you’re going to add another piece of wax paper on top of the circle and press down. Use a rolling pin to roll the crust into a large flat round shape, larger than the pie dish you’ll be cooking it in. Place the pie pan upside down on the rolled crust to make sure the crust is larger than the pan. This will help you from rolling it out too small. Gently pull the top piece of wax paper off of the pie crust. Flip the dough over and place the pie crust in the pie pan. Gently remove the bottom piece of wax paper off the pie crust. If any of it tears, simply press it back together. You can use the other pie crust (roll it out the same way) to top the pie filling with strips, a basket weave, cute shapes, etc. Once your pie is filled, cover the entire pie with tinfoil and refrigerate for a minimum of 30 minutes before baking. This is the final step to ensure a flaky crust rather than a chewy one, so don’t skip this! It helps cool that crust once and all before baking!
Expert Tips
Make sure to start with VERY COLD butter and ICE water. If either ever warm up, put them back in the fridge or add more ice. Don’t add more than a small spoon of water at a time when you’re making the dough. Adding too much water can make your flaky pie crust chewy instead of flaky. Put your dough back in the fridge if at any point it seems to be getting warm and no longer chilled. Wait until it’s chilled before using it again. Refrigerate your pie before baking to allow the butter to get back to a firm state. This is what helps get that super flaky pie crust.
More Delicious Desserts
Need more desserts to go with your pie? Try one of these!
Cranberry orange breadSopapilla cheesecakeChocolate brownie cakeBanana pudding cupcakesStrawberry poke cake